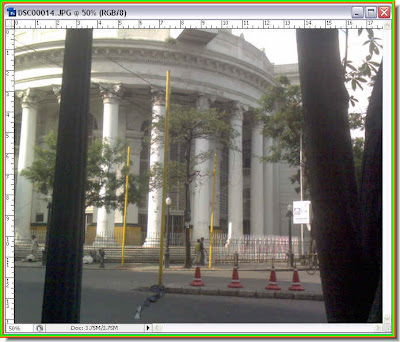
I took this photo of the General Post Office in Kolkata in Dalhousie Square, which is a landmark with my mobile phone. You can see that the photo is not one to brag about.

Step 1 : Press CTRL+J on the keyboard. This will duplicate the Background layer as Layer 1.
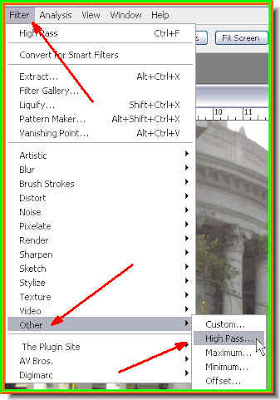
Step 2 : Go to Filter>Other>High Pass

Step 3 : The High Pass filter dialogue box opens. This is the filter which will sharpen our image. When you are are using a small image or using one for the web (500 px X 500 px) let the Radius remain at between 1.1 to 1.3 pixels. For larger images you can try a larger Radius. You can see the sharpen taking effect in the dialogue window even though everything appears grey. I have used a Radius of 12.0 pixels since the image I have is large.

Step 4 : Now change the Blend Mode to Overlay in the Layers pallette and you are done.

The sharpened image. That is all. Try it out.
Tidak ada komentar:
Posting Komentar