This is 7th and last part of the image makeover tutorial. Here we will do a bit of contouring and fix the lips. The last tutorial is here
This is how the image looks like so far.
This is how the Layer pallete looks.
Step 1 : Press CTRL+SHIFT+ALT+E to make a new composite layer -- Layer 20.
Step 2 : Press CTRL+J to duplicate Layer 20. A new Layer 20 is formed.
Step 3 : Zoom in on the image. We will will be contouring it first.
Step 4 : Click on the Burn Tool.
Step 5 : In the top panel Range is set to Midtones. Lower the Exposure to 9% and ensure that Protect Tones is checked.
Step 6 : Click in the top panel. (The Burn Tool Works like a Brush). Set the Hardness at 0.
Step 7 : Make the Brush large.
Step 8 : Since the Exposure is set way down, you will have to go over the edges of her face before you notice the effect with the Burn Tool.
Step 9 : Reduce the Opacity of the Layer.
This is how the image looks. Her face looks a bit narrower after the contouring.
Step 10 : Press CTRL+SHIFT+ALT+E to make a new composite Layer 21.
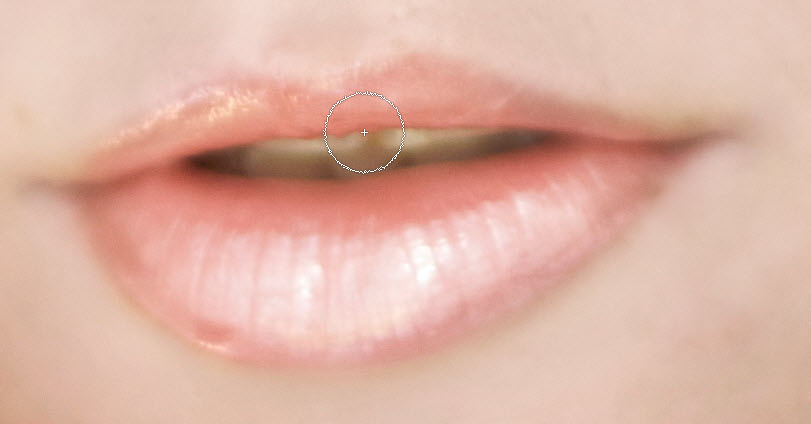
Step 11 : Zoom in on the lips.
Step 12 : Click on the Burn Tool.
Step 13 : In the top panel the settings were given in the earlier step. We will be using them again for this step.
Step 14 : Go over the edges of the lips with the Burn Tool a number of times.
Step 15 : Go over the inside of the lips a few times.
Step 16 : Now Switch over to the Dodge Tool.
Step 17 : The Settings for it in the top panel will be the same.
Step 18 : Go over the highlights of the lips with the Dodge Tool as also the teeth.
Step 19 : Click the Layer Mask button. A Layer Mask forms on Layer 21.
Step 20 : Switch the Foreground Color to Black.
Step 21 : Press b to bring up the Brush Tool. Use a soft brush to wipe around the edges of the lips where some of the burning and dodging could have spilled over on the skin.
This is how the image looks so far.
Step 22 : Press CTRL+SHIFT+ALT+E to make a new composite Layer 22.
Step 23 : Press CTRL+J to duplicate Layer 22 into Layer 22 copy.
Step 24 : Go to Filter>Liquify.
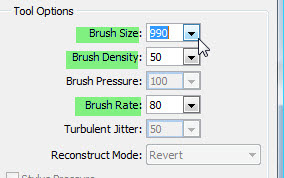
Step 25 : When the Liquify dialogue box opens. I have made the Brush really large, while keeping the Brush Density at 50 and Brush Rate at 80.
Step 26 : Click the Bloat Tool in the left panel.
Step 27 : Click once (at the most twice) with the Bloat Tool on the pupil. The eye will become larger.
Step 28 : Do likewise with the Bloat Tool on the other eye.
Step 29 : Click the Forward Warp Tool.
Step 30 : Tuck in the nose with little movements of the Forward Warp Tool to make the nose look thinner.
Step 31 : You can touch up the lips too. That is all.
This is the image I started with.
The same image after the Makeover. Hope you enjoyed it.
I know I did.


Tidak ada komentar:
Posting Komentar